Finalising Payslips
Once your employees’ payroll details have been entered for the period, click on ‘Finalise Payslips’ at the top of the screen.
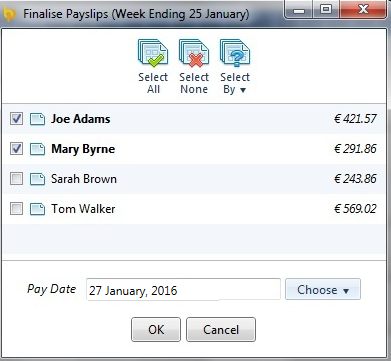
The ‘Finalise Payslips’ screen will indicate the period being finalised and the pay date. Should you wish to amend the pay date, enter in the desired date or choose from the calendar.
By default, all employees included in the pay period will be marked for updating. If you wish to update all employees at the same time, simply click on ‘OK’. Alternatively, if you only wish to finalise payslips for some of your employees, untick any employees who you do not wish to include in the update and click ‘OK’. These employees can be updated at a later time.

After clicking ‘OK’, the payroll period will be displayed again. A tick will be displayed next to an employee’s name to indicate that their payslip for this period has been finalised.
To proceed immediately to the next pay period, simply click the ‘Next Period’ button at the top of the screen or select from the payroll schedule.
Employee payslips which have not been updated can be finalised at any time in the future. An icon is displayed on the payroll schedule to indicate that employee payslips are still open in a particular period.

Need help? Support is available at 01 8352074 or brightpayirelandsupport@brightsg.com.


